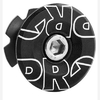
PRO 鋁合金立管上蓋
$80.00
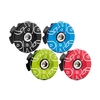
顏色選項
 黑色
黑色 藍色
藍色 綠色
綠色 紅色
紅色尺寸選項

PRO Alloy Stem Cap
Pro alloy gap cap. Power your performance. Black Stainless Steel Bolt. Incl. Starnut
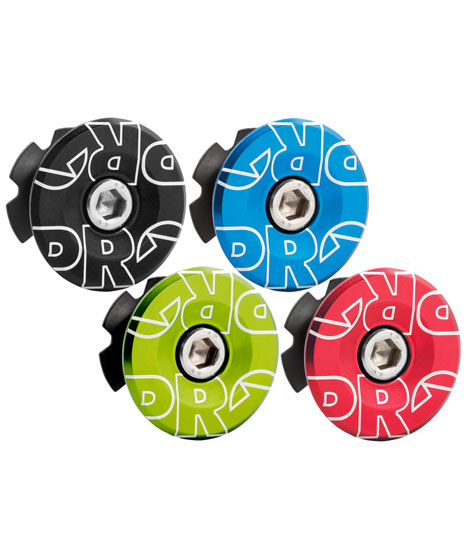
Size: 1-1/8"
IMPORTANT!
• Check regularly if the headset is still tightened and without play
Required tools:
• Allen wrench
• Torque wrench
• Sandpaper
• Reaming tool and facing tool
• Crown cone installation tool
• Star nut installation tool
• Headset press kit
A. Preparing frame and fork
1 Read carefully instructions of fork, stem and frame manufacturer.
2 Use reaming and facing tool to prepare top and bottom of frame head tube.
3 Use crown cone cutting tool to turn and face the crown race seat of the fork.
B. Installation cups and starnut
1 Use a headset press kit to press the upper- and lower bearing cup into the frame head tube (external cup and zero stack only).
2 Use a crown cone installation tool to press the crown cone onto the fork (until the fl at back is fully in contact with the crown).
3 Use a star nut installation tool to press the star nut 15 mm into the fork steerer (concave end facing upwards).
C. Assembling headset + cutting fork steerer.
1 Place lower seal ring on crown cone
2 Place lower bearing with chamfered inside-edge downwards.
3 Insert fork steerer into head tube and keep it positioned.
4 Check if lower seal ring is correctly seated inside lower cup.
5 Install upper bearing with chamfered outside-edge downwards.
6 Place compression ring with chamfered surface downward.
7 Place Upper bearing cup.
8 Place spacers (if used) and stem.
9 Seat fork steerer firmly upward in head tube and push frame and stem firmly downward.
10 Tighten bolts temporarily.
11 Mark the fork steerer at the top of the stem.
12 Disassemble stem, spacers, top cover and bearings.
13 Use a steerer cutting guide to cut the steerer 1.5 - 2 mm below the marking.
14 Remove sharp edges.
15 Repeat step 2 until 10.
Tightening/preloading headset assembly
1 Place the top cap.
2 Place compression bolt and tighten hand-tight
3 Unscrew the stem bolts.
4 Tighten decompression bolt until play is removed while ensuring it still rotates freely.
5 Tighten the stem according to the manufacturer instructions.